A step-by-step guide for setting up a Lullabeebs baby avatar
Welcome! This guide walks you through building a LullaBeebs infant avatar from scratch, from shopping to the finishing touches. There's a bit of prep involved before you start putting things on, so read through the shopping section first!
A LullaBeebs baby is made up of several pieces from different stores. Here's a breakdown of what to grab and where to look.
Head to the Lullabeebs store located on the Bad Seed region in Second Life
You'll need to purchase:
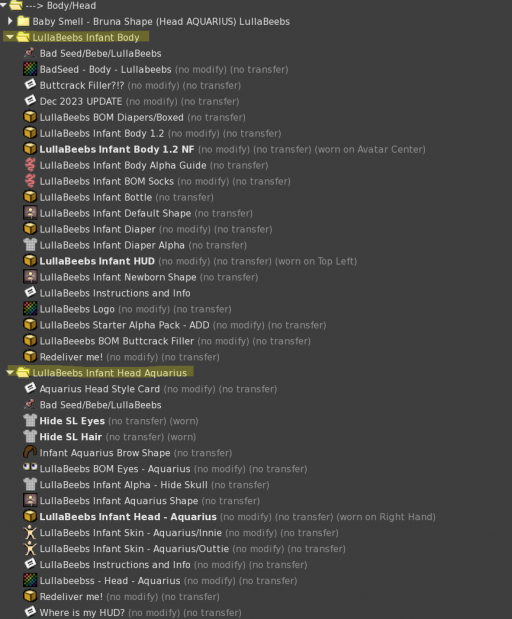
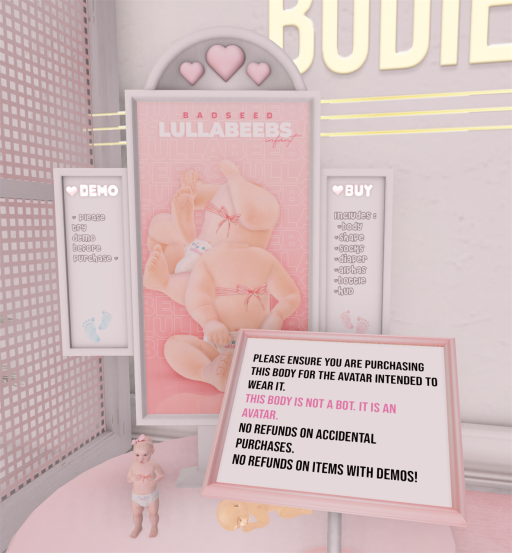
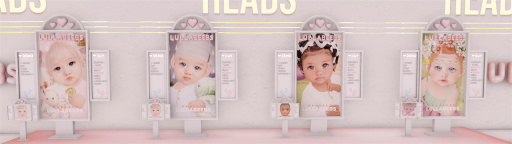
💡 Tip: The body and head are sold separately, so make sure you grab both.
Skins for LullaBeebs babies are made by third-party creators. There are tons of options out there! Before you buy, grab demos from the stores you're eyeing - most creators offer them for free or for a small fee. Try them on your baby first so you can see the tone and texture before committing
Here are a few stores to check out:
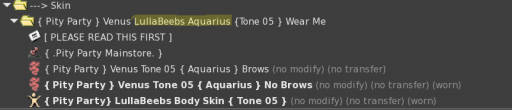
📝 Note: Make sure the skin you buy is made specifically for LullaBeebs. It should say so in the listing. Remember to always DEMO when possible before making a purchase!
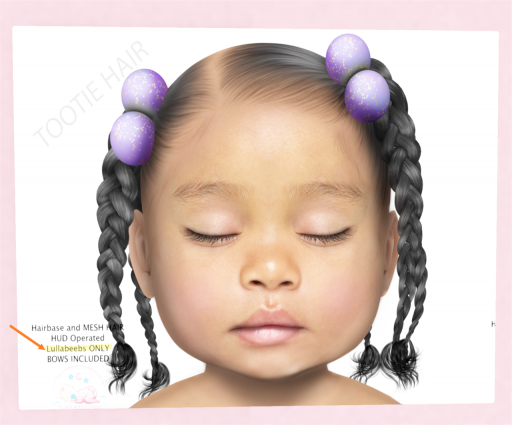
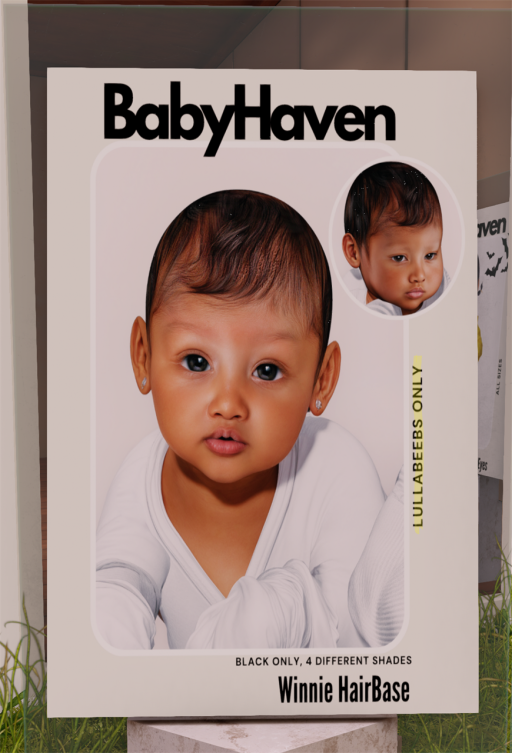
Baby hair is also from third-party stores. Look for hair that is labeled for LullaBeebs or unrigged mesh hair.
A few places to browse:
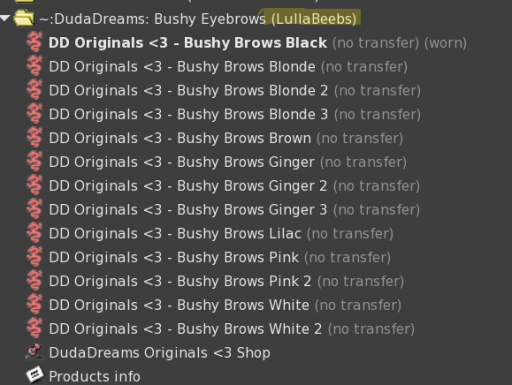
Eyebrows are their own tattoo layers and come from third-party creators. Some skin stores include brows in the package, so check before buying separately!
Places to look:
Add-ons are little extras like lashes, skin details, veins, and under-eye creases. These come from third-party stores, too.
Some favorites:
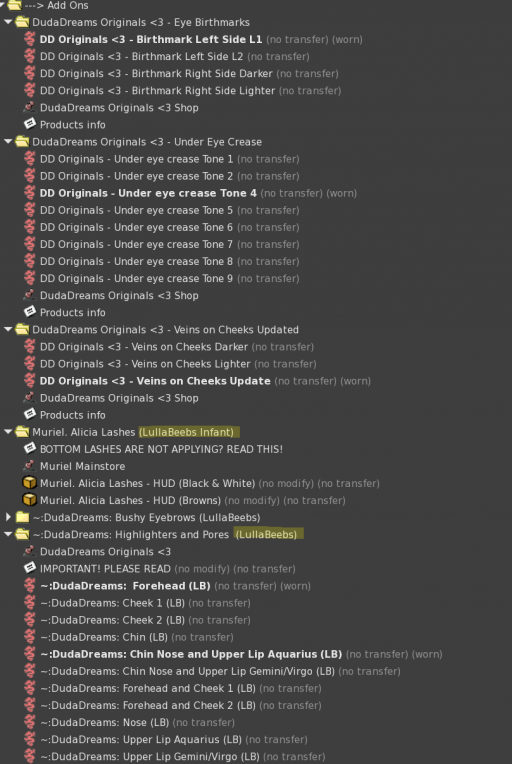
📝 Note: Make sure the hair/brows/add ons you buy is made specifically for LullaBeebs. It should say so in the listing. Remember to always DEMO when possible before making a purchase!
When you buy something in Second Life, it lands in your Objects folder as a box or package. It's not ready to wear yet! You'll need to unpack everything before you can use it.
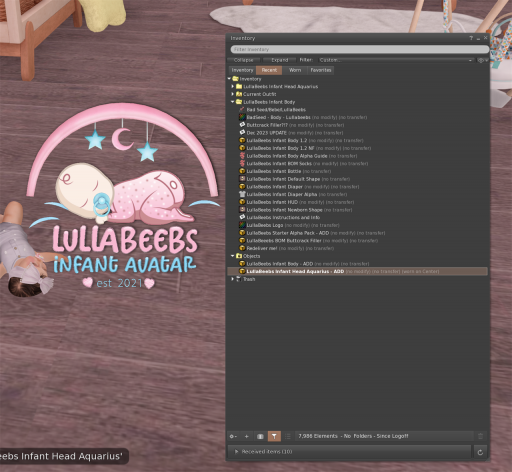
💡 Tip: Do this for every item you purchase before moving on: body, head, skin, hair, eyebrows, and add-ons all need to be unpacked first.
Okay, everything's unpacked and in your inventory! Let's build this baby. Work through these steps for the best results.
These are the foundation of your avatar. Start here before anything else.
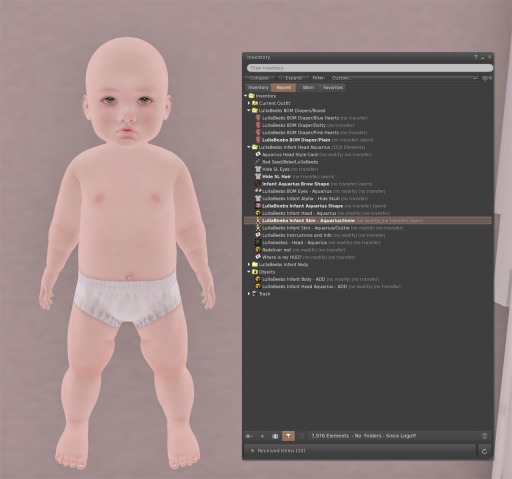
💡 Tip: Always use Add for mesh body parts, not Wear. Wear can accidentally replace pieces you already have on.
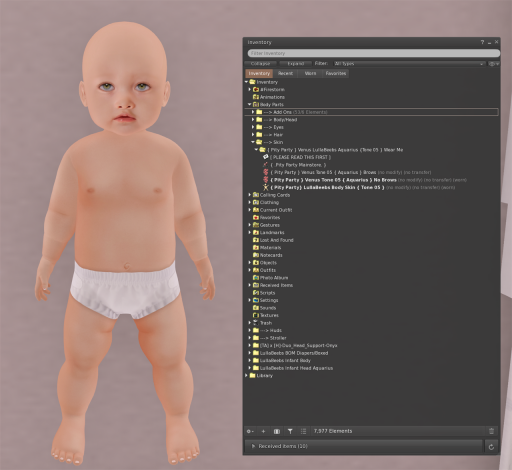
📝 Note: Some skins have a separate tattoo layer for the head and body. Apply both if that's the case!
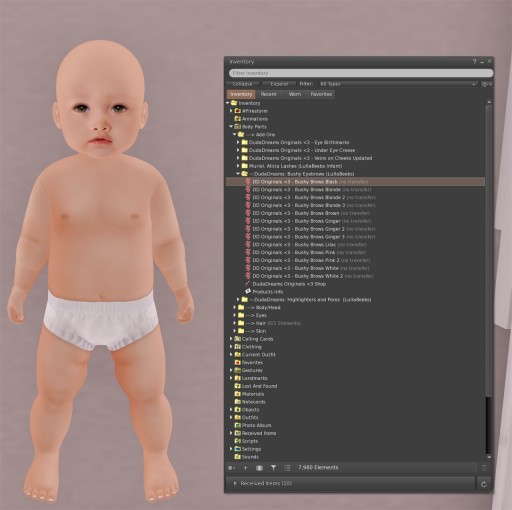
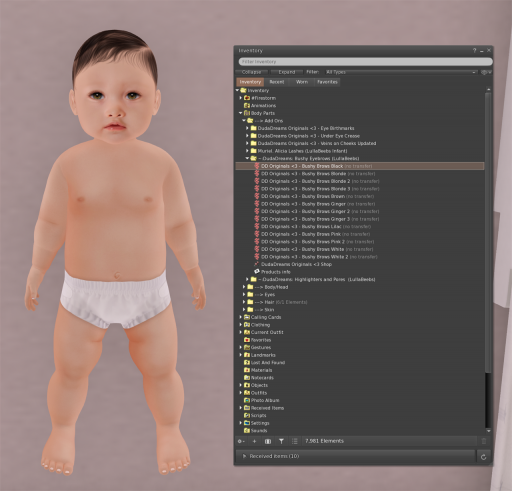
💡 Tip: Hair should always be Added, not Worn, so it layers on top of the head correctly.
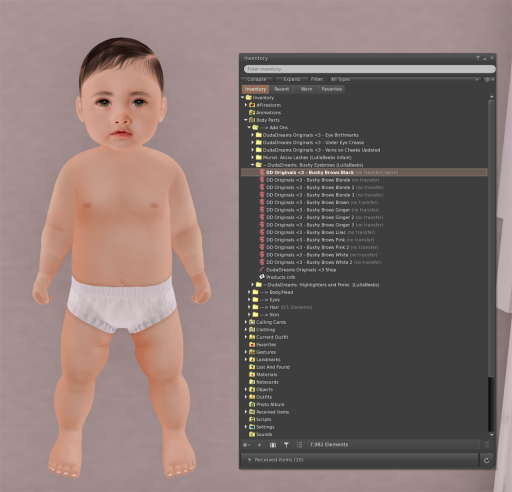
Add-ons like lashes, skin details, veins, and under-eye creases go on last. Some are appliers (HUD-based) and some are attachments: check the instructions that came with them.
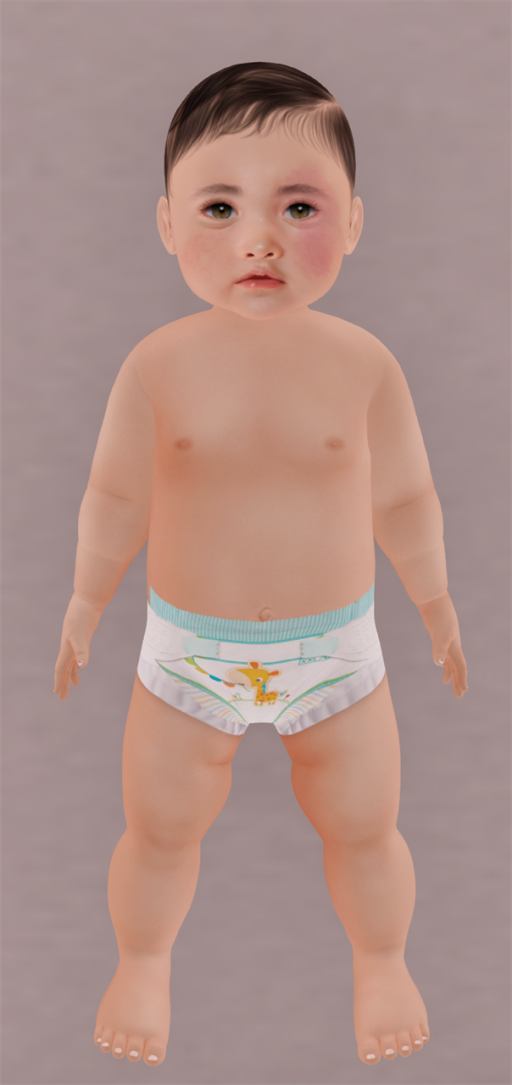
💡 Tip: Apply each one with Add, not Wear, so they layer on top of your skin without replacing anything.
 MoonBots
 [Starries]